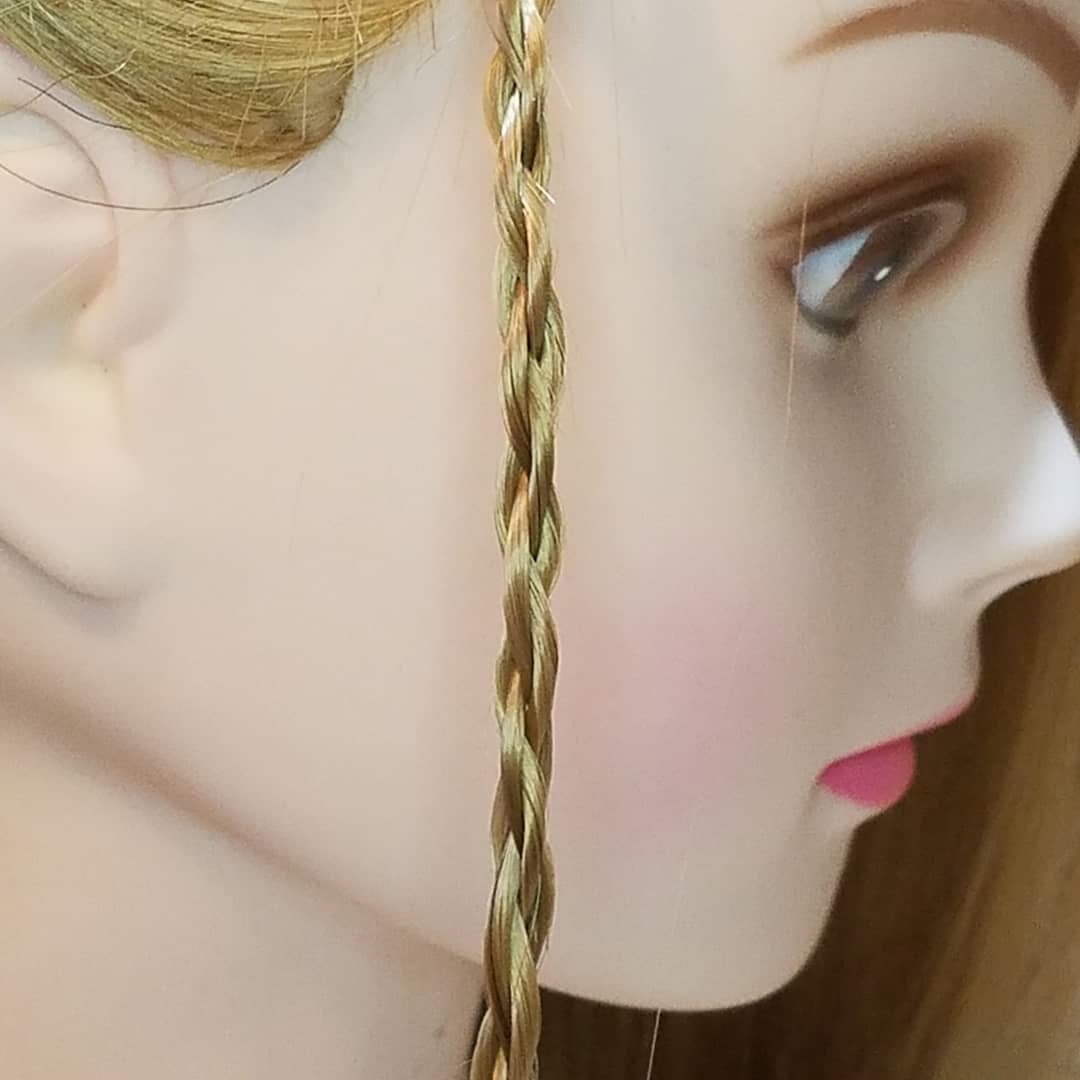
TUTORIAL: How to Make Chain Link Braids
Posted by I Kick Shins on Jan 15th 2019
Chain link braids look super complicated, but they're very simple to do! They're actually not braids at all; the chain link look is achieved by twisting two twists together (try saying that five times fast!)
Materials
- Small snap clips, bobby pins, or barrettes. We used snap clips in the video above.
- Whatever you prefer to seal the ends of the braids with (boiling water, a lighter, thread, rubber bands, etc).
- Braiding hair (optional)
Instructions
1. Section off two pieces of hair, equal in size to one another.
2. Split one of the sections in half.
3. Twist each strand from that section in one direction, while twisting them together in the opposite direction. When you reach the end of the hair, fasten with a snap clip or bobby pin.
4. Repeat steps 2 and 3 with the other section of hair.
5. Twist both sections together, this time in the opposite direction that you twisted the strands together.
6. Seal the ends with boiling water, a lighter, thread, or rubber bands.
Notes
If you have one of those two-strand braiding machines, you can use it to make the initial twists. You'll need to do the second round of twisting by hand, though, since it will need to be in the opposite direction.
If you're making single-loop extensions to install via crochet, create a loop by following steps 1-4 from our single-ended dread tutorial. Lightly backcomb the hair around the loop to make it more sturdy. Divide the loose hair below the loop in half, then proceed to step 2 for the chain link braid.
If you're installing these directly onto your head with extensions, start each twist as you would for Senegalese twists.


