Tutorial: How To Install Blanket-Stitch Braided Extensions
Posted by Sarah on Nov 9th 2008
How To Install Blanket-Stitch Braided Extensions
The instructions below explain how to do blanket-stitch braids, which is
a variation of a regular 3-way braid that uses up much more hair. It
is ideal for installing dread extensions because it shortens the length
of your real hair considerably. That means that the dreads can be
shorter than your natural hair, and that the braids are less obvious
because they're much shorter than that would be with a 3-way braid.
What You will Need
- Extensions of some kind -- most people use the blanket-stitch on single-ended dreads or double-ended dreads.
- Weaving thread or rubber bands
- Mirrors (so you can see what you're doing!)
Instructions
1. Separate off a section of your real hair as the base of the braid.
Split this section in half -- in the example below, your real hair is
the PINK and PURPLE strands. The RED piece represents the extension
hair, which can be a single-ended dread, one half of a double-ended
dread, or whatever else you might be installing.
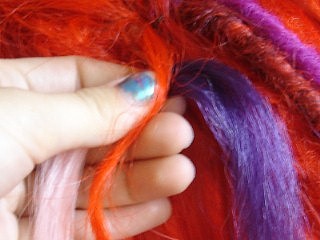
Your real hair (PINK and PURPLE) with the extension (RED) in the center
2. Cross one piece of your real hair over the extension. Now cross the other piece of your real hair over the first one.
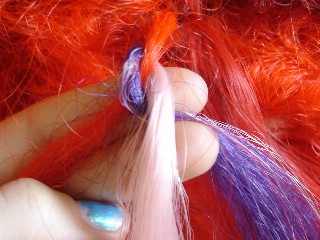
Crossing the real hair (PURPLE) over the extension (RED), then crossing the second piece (PINK) over the first (PURPLE).
3. Now pull that same strand of hair under the extension. Make sure to keep a good grip on the extension when you do this; if it comes out too loose, you'll end up with something that looks like a 3-way braid.
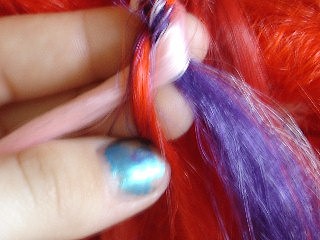
Pulling the second piece (PINK) under the extension (RED).
4. Now cross the strand over the extension.
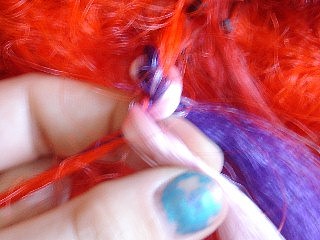
Crossing the second piece (PINK) over the extension (RED).
5. As you're crossing over the extension, pull the strand under the other strand of your real hair.
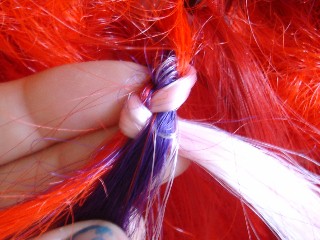
Crossing the second piece (PINK) over the extension (RED) and under the first piece (PURPLE).
6. Cross the original strand of hair over the one you were just working
with. You have now begun your blanket-stitch braid! Repeat steps 2
through 6 until you reach the end of your real hair. Then finish the
braid with a rubberband or weaving thread and you're done!
As you can see from the picture below, a finished blanket-stitch braid
will wrap your real hair (the PINK and PURPLE) around the extension hair
(the RED) so that it is barely visible through the braid. The wrapping
is what makes the blanket-stitch braid so much shorter than a 3-way
braid, and its also much more secure and will be less prone to slipping
out.
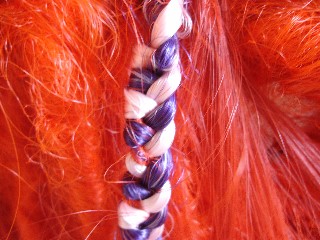
A finished blanket-stitch braid.


